Preparation for Interior Painting: The Complete Guide for a Flawless Finish
When it comes to achieving a smooth, long-lasting finish, proper preparation for interior painting is the most critical step. Whether you're a homeowner tackling a DIY project or hiring professional painters, skipping prep work can lead to uneven results, peeling paint, and wasted time and money.
In this guide, we’ll walk you through how to prepare walls for painting, the tools you need, and expert tips used by professional painters to ensure a perfect result.
Why Preparation Matters Before Interior Painting
Many people underestimate the importance of prep work, but in reality, 80% of a high-quality paint job depends on proper surface preparation.
Key Benefits:
Ensures better paint adhesion
Creates a smooth, even finish
Increases paint durability and lifespan
Prevents peeling, cracking, or bubbling
If you're searching for “best way to prep walls for painting”, this is where it all starts.
Step-by-Step Interior Painting Preparation
1. Clear and Protect the Space
Before you begin painting, remove or protect everything in the room.
Checklist:
Move furniture away from walls
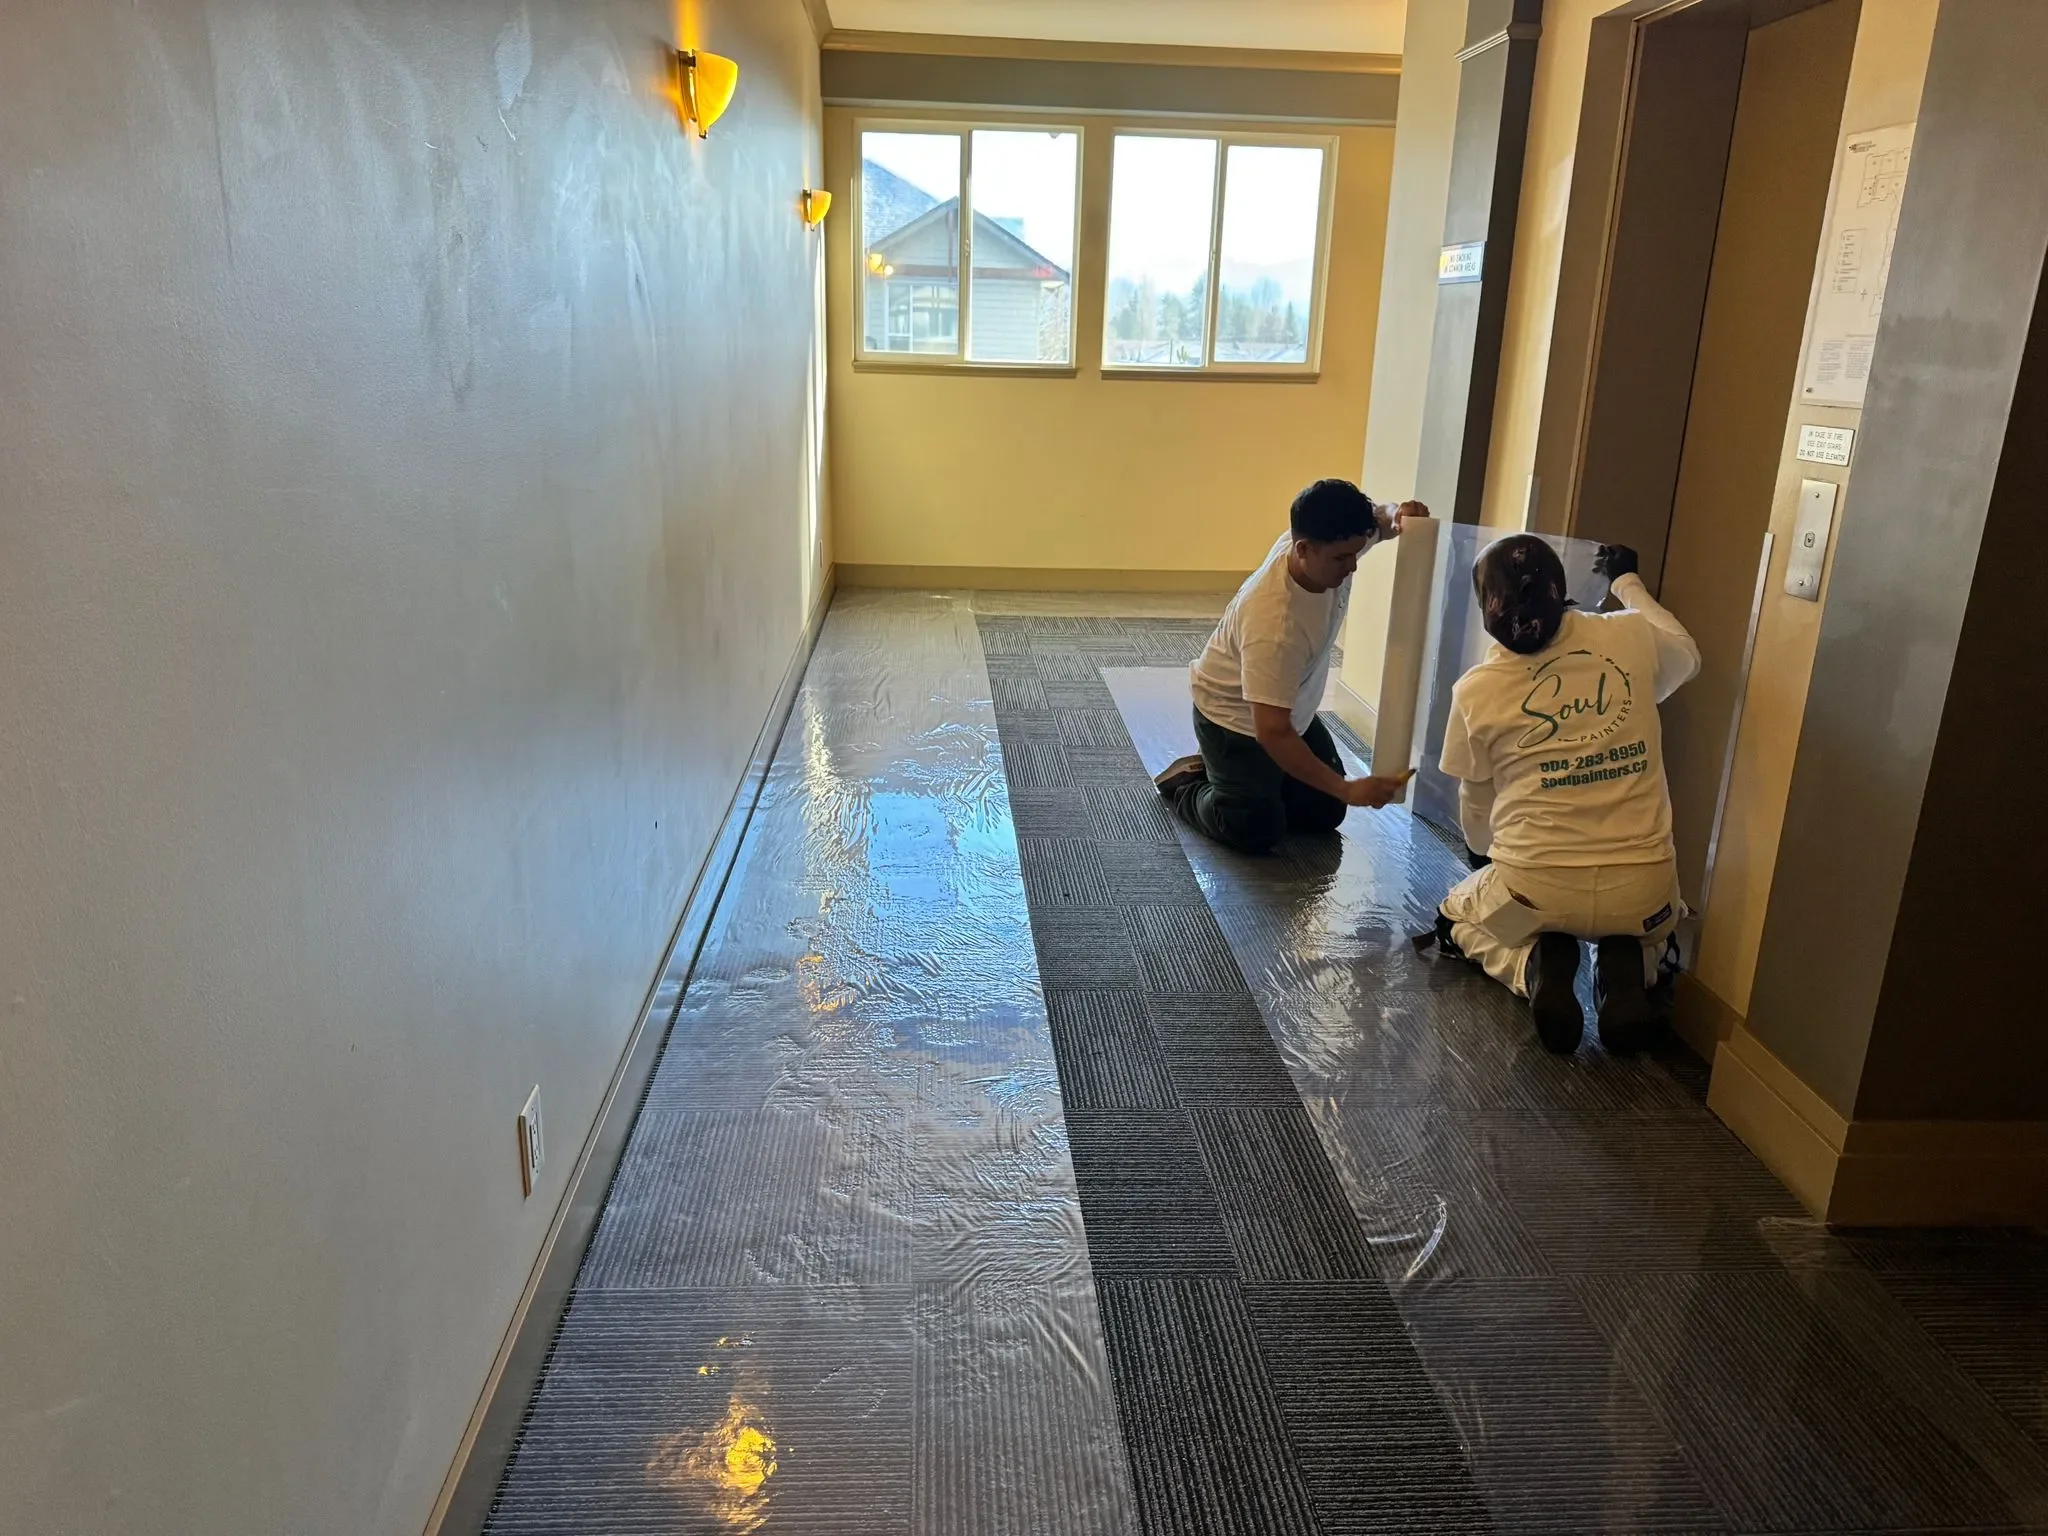
Cover floors with drop cloths
Use plastic sheets for large items
Tape off trim, windows, and outlets
This step is essential for anyone looking up “how to prepare a room for painting”.
How to Prepare a Room for Painting
Properly preparing a room is the foundation of a successful interior painting project. If you're searching for “how to prepare a room for painting”, following the right steps ensures clean, professional-looking results.
Step-by-Step Room Preparation:
Remove or move furniture: Clear as much space as possible or move items to the center and cover them with plastic sheets.
Protect floors: Use drop cloths or canvas sheets to prevent paint spills and splatters.
Clean surfaces: Dust and wipe down walls, baseboards, and trim to remove dirt and grease.
Tape edges and fixtures: Apply painter’s tape around windows, door frames, light switches, and outlets.
Ensure ventilation: Open windows or use fans for proper airflow during painting.
Pro Tip: Proper room prep saves time during cleanup and prevents costly mistakes.
2. Clean the Walls Thoroughly
Dirty walls can prevent paint from sticking properly.
How to clean walls before painting:
Use mild soap and water for general cleaning
Remove grease with a degreaser (especially in kitchens)
Eliminate mold or mildew with appropriate cleaners
Pro Tip: Even walls that look clean often have dust and oils that affect paint adhesion.
3. Repair Imperfections
To achieve a professional finish, your walls must be smooth.
Common repairs include:
Filling holes and cracks with spackle
Fixing dents and scratches
Sealing gaps with caulk
Search queries like “how to fix wall holes before painting” highlight how important this step is.
How to Fix Wall Holes Before Painting
Repairing wall imperfections is crucial if you want a smooth, flawless finish. Many homeowners search for “how to fix wall holes before painting”, and the process is simpler than it seems.
Steps to Repair Wall Holes:
Small holes (nail holes):
Use spackle and a putty knife to fill the hole, then smooth it out.Medium holes:
Apply a patch kit or mesh tape, then cover with joint compound.Large holes:
Use a drywall patch, secure it properly, and apply multiple layers of compound.Sand the surface:
Once dry, sand the area until it’s smooth and level with the wall.Prime the repaired area:
This prevents the patch from absorbing paint unevenly.
Important: Skipping repairs will make imperfections more visible after painting.
4. Sand the Surface
Sanding helps create a uniform surface for paint to adhere to.
What to do:
Lightly sand patched areas
Smooth out rough spots
Use fine-grit sandpaper for best results
This step is often recommended by professional interior painters for a flawless look.
5. Apply Primer
Primer is a game-changer, especially for:
New drywall
Dark-colored walls
Stained or patched surfaces
Using primer ensures:
Better paint coverage
More vibrant color
Long-lasting results
If you're searching for “do I need primer before painting walls?”, the answer is almost always yes.
Do I Need Primer Before Painting Walls?
One of the most common questions is: “Do I need primer before painting walls?” The short answer is — yes, in most cases.
When Primer Is Necessary:
Painting over dark or bold colors
Covering stains, water damage, or smoke marks
Working with new drywall or fresh patches
Painting over glossy or previously painted surfaces
Benefits of Using Primer:
Improves paint adhesion
Ensures even color coverage
Reduces the number of paint coats needed
Increases durability and longevity
Expert Insight: Professional painters rarely skip primer because it directly impacts the final quality of the paint job.
Tools and Materials You’ll Need
For efficient interior painting preparation, gather the following:
Drop cloths and plastic sheets
Painter’s tape
Spackle and putty knife
Sandpaper or sanding block
Cleaning supplies
Primer
Paint rollers and brushes
Having the right tools is essential for anyone researching “interior painting tools list”.
Interior Painting Tools List
Having the right tools is essential for efficient and high-quality results. If you're looking for a complete “interior painting tools list”, here’s everything you need:
Essential Painting Tools:
Paint rollers and roller frames (for large surfaces)
High-quality paint brushes (for edges and trim)
Paint trays and liners
Drop cloths or plastic sheets
Painter’s tape
Sandpaper or sanding blocks
Putty knife and spackle
Caulking gun and caulk
Primer and paint
Ladder or step stool
Optional but Recommended:
Extension poles for rollers
Paint edgers for clean lines
Protective gloves and masks
Pro Tip: Investing in high-quality tools can significantly improve your painting results and efficiency.
Common Mistakes to Avoid
Avoid these common prep mistakes that can ruin your paint job:
Skipping wall cleaning
Not repairing wall damage
Painting over glossy surfaces without sanding
Forgetting to use primer
Rushing the preparation process
These mistakes are frequently associated with poor results in DIY interior painting projects.
Why Hire Professional Interior Painters?
While DIY is possible, hiring professionals ensures:
Proper surface preparation
High-quality finishes
Time efficiency
Expert product selection
If you're in the market for professional painters in Vancouver, working with experienced teams like Soul Painters guarantees a stress-free experience and premium results.
Final Thoughts
Proper preparation for interior painting is the foundation of a successful project. From cleaning and repairing to priming and protecting your space, each step plays a crucial role in achieving a flawless finish.
If you want your walls to look professionally done and last for years, never skip the prep work.
Need Help with Interior Painting?
At Soul Painters, we specialize in high-quality interior house painting services, including detailed preparation to ensure perfect results every time.
Contact us today for a free estimate and let our experts transform your space.